
This guide walks organizers through creating a Seated Ticket Event, from logging in to submitting the event for approval.
Overview
Seated Ticket Events are ideal for concerts, theater performances, conferences, or any event where attendees select specific seats within a venue.
• STEP 1:
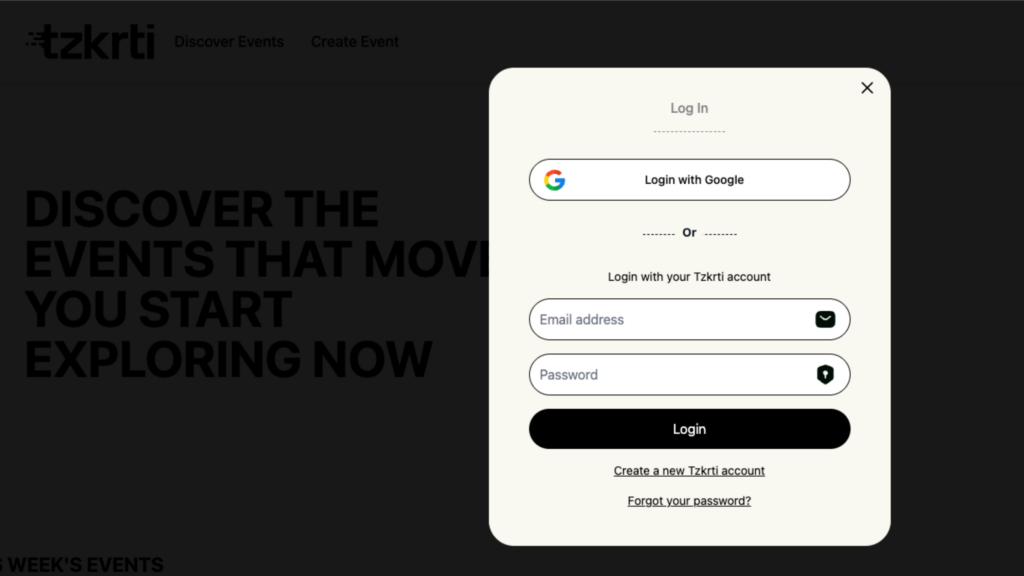
Log In to Your Organizer Account
Sign in to your Tzkrti organizer account using your email and password.
• Step 2
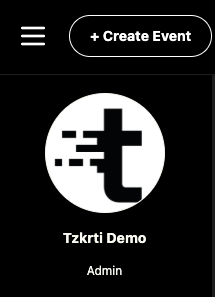
Start Creating a New Event
From the Organizer Dashboard, click + Create Event located in the top-left corner of the screen.
• Step 3
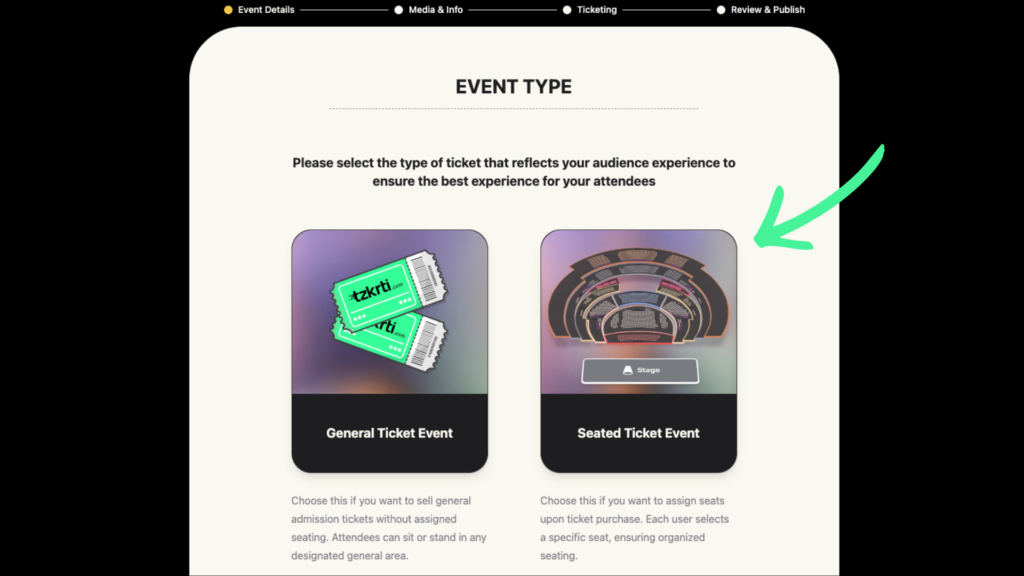
Select Event Type
Choose Seated Ticket Event as the event type.
This option allows attendees to submit ticket purchase requests, which you can review before approving their attendance.
• Step 4
Choose Event Language
After selecting the event type, choose the language you want to create your event in:
- Arabic
- English
- Arabic + English (default)
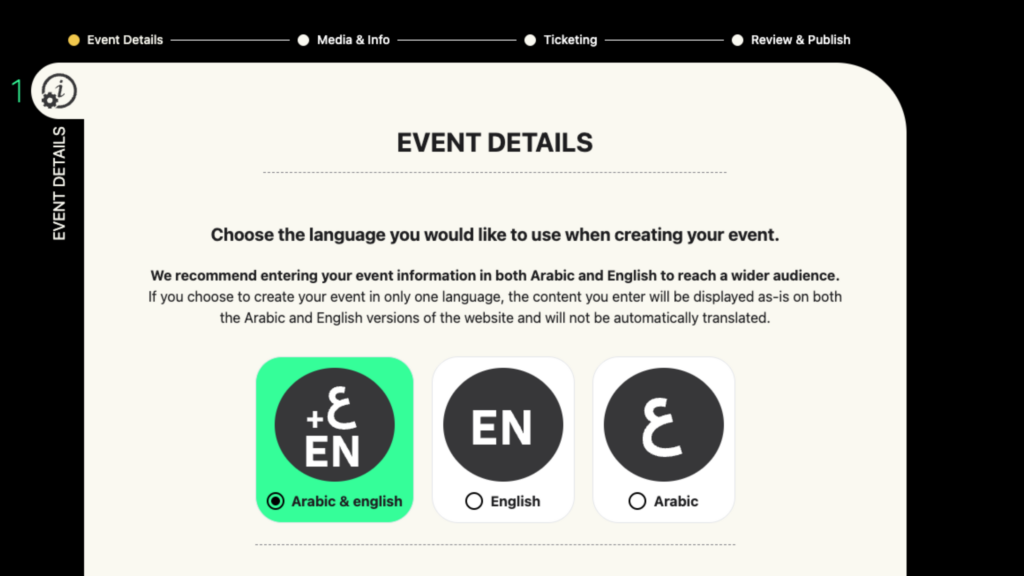
If you select a single language, all fields will appear in that language only.
If you select Arabic + English, you can enter content in both languages.
If you enter content in only one language, the system will automatically copy it to the other language to reduce manual duplication.
Once selected, proceed to enter your event details.
• step 5
Add Event Details
On the Event Details page, enter the required information:
- Event Category
- Event Title
- Event Description
- Country
- City
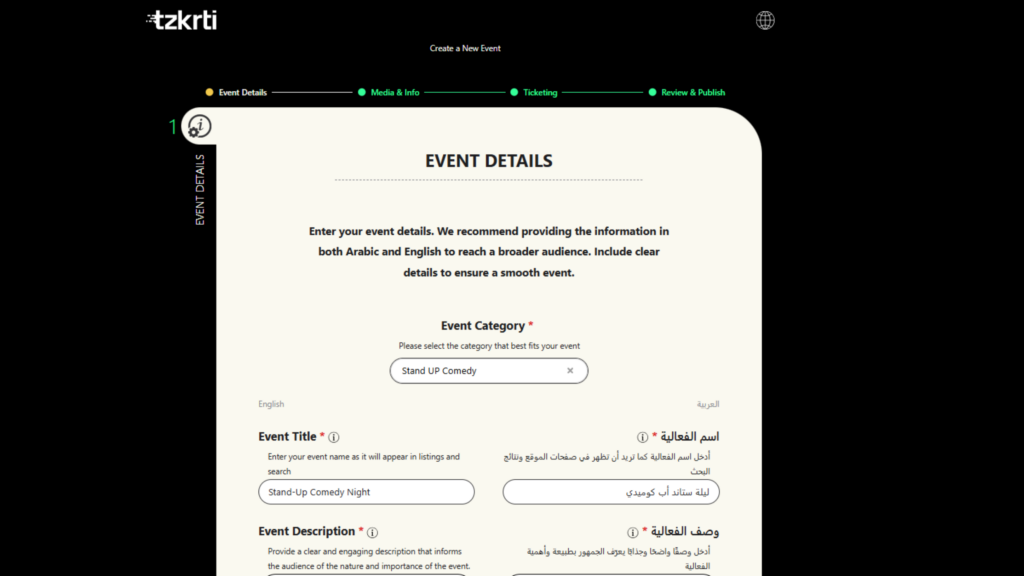
Next, set the event start and end date and time.
Once all required fields are completed, click Next to proceed to the Media & Info page.
• Step 6
Upload Media & Additional Information
On the Media & Info page, enhance your event listing with visuals and helpful details.
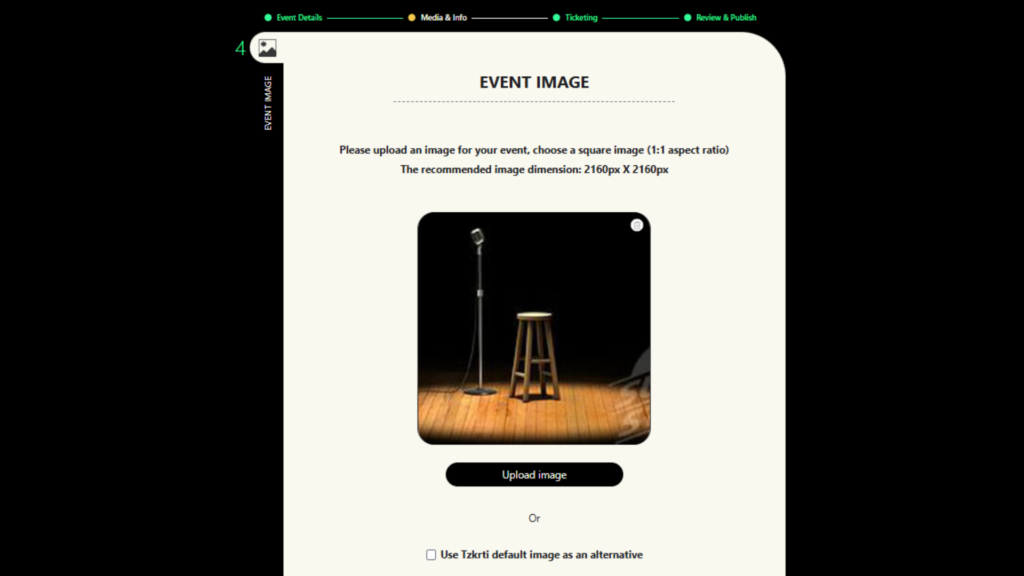
– Event Image
Upload your own image or use a Tzkrti default image.
Recommended size: 1:1 aspect ratio (2160 × 2160 px).
– Event Poster
A detailed image used to showcase schedules, performers, or special highlights.
– YouTube Video (Optional)
Add a promotional or teaser video to increase engagement.
– Event Agenda (Optional)
Share a schedule or rundown of activities.
– Good to Know Section (Optional)
Include helpful details such as:
- Age restrictions
- Parking details
- Dress code
- Venue guidelines
Providing clear information builds trust and improves the attendee experience.
Click Next when finished.
Step 7: Configure Seating & Ticketing
You are now in the Ticketing section of the event creation flow. This is where you define how seating and pricing will work.
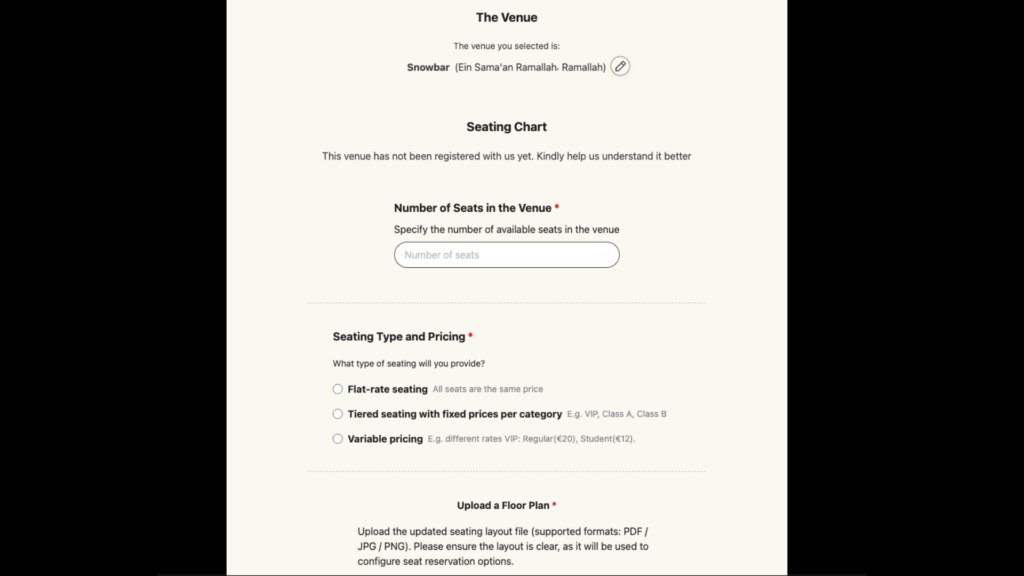
Specify the Number of Seats
Enter the total number of seats available in the venue.
This ensures seating availability is configured accurately.
Choose Seating Type & Pricing Model
Select your seating type and pricing structure. This is required and determines how seats are grouped and priced.
You can choose one of the following:
Flat-rate seating
All seats are sold at the same price.
Tiered seating with fixed prices per category
Seats are grouped into categories (e.g., VIP, Class A, Balcony), each with a fixed price.
Variable pricing
Seat prices vary based on location, demand, or custom criteria.
Upload the Venue Floor Plan
Upload your venue floor plan to help our team build an accurate seating chart.
Accepted file formats:
- JPG
- PNG
The floor plan should clearly show seating sections, rows, and layout details.
Add Seating Details
In the Seating Details text box, provide additional instructions to help configure your seating map accurately.
You may include:
- Seating segmentation and rows (e.g., Floor 1, Floor 2, Balcony)
- Pricing categories (e.g., VIP, Class A, Class B)
- Special seating rules or considerations
The more detail you provide, the more precise your seating chart will be.
Once all required fields are completed, click Next to proceed.
• Step 8
Review & Publish
Review your event carefully using the preview page.
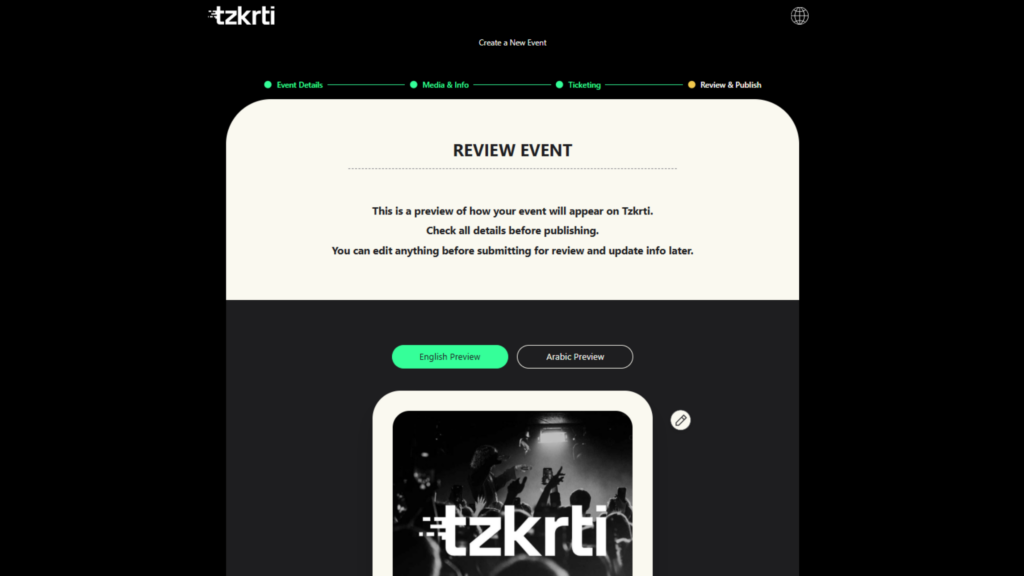
Confirm that your event details, ticket setup, and pre-approval fields are correct.
The preview will reflect the language(s) selected earlier.
If everything looks good, click Publish.
Your event will be submitted to the Tzkrti Operations Team for review and approval.
What Happens After Publishing?
- The Operations Team reviews your event for accuracy and compliance
- You’ll be notified once your event is approved
- Once approved, your event goes live and attendees can begin selecting and purchasing seats